AWS Integration
Auto-discover Applications and AWS Resources
Rapticore Integrates with customer’s AWS environments using readonly IAM Roles added to customer AWS accounts.
For more information on these roles and AWS integration, refer to our AWS integration reference.
Setup
To simplify setup, we provide CloudFormation templates both in JSON and YAML formats to facilitate IAM Role creation.
Setup involves:
- Configuring AWS Accounts with readonly IAM Roles
- Configuring Rapticore to integrate with those AWS Accounts
Necessary privileges in AWS
An IAM User or Role with privileges to create and update IAM roles in all target customer AWS accounts can complete the setup steps.
Rapticore information provided in your invitation email
Rapticore, at the time of account creation, will provide customers with two unique account attributes; both of these must be used without modification in the setup.
- RapticoreAccountId - Rapticore-operated AWS Account ID.
- RapticoreTenantId - Rapticore unique Tenant ID.
Rapticore privileges
You must have an Admin role to configure AWS integrations in Rapticore.
AWS Account Configuration
Option 1 - AWS Console Setup
- Download the CloudFormation Template as a
.yamlfile. - Log into your target account AWS Management Console with permissions to create IAM Roles and Policies.
- Go to the CloudFormation Service and click the "Create stack" button on the top right corner of the screen.
- Select "Template is Ready" and then Select "Upload a template file."
- Choose the YAML file you downloaded and click “Next.”
- Enter a Friendly Name for the stack, e.g., Rapticore-cloud-extractor-role-stack.
- Enter RapticoreAccountId provided in your invitation email.
- Enter RapticoreTenantId provided in your invitation email.
- Click “Next” and add any tags you may desire.
- Click "Next" Review Details and select the acknowledgment checkbox once in agreement.
- Click “Create stack” and review the progress.
- Once the stack is created, click the Outputs tab and copy, and save for later, the created IAM Role ARN.
You will want to keep track of the associated AWS Account the IAM Role was created in for a the Rapticore Configuration step.
Repeat the process for all the AWS Accounts you wish to integrate with Rapticore.
Option 2 - AWS CLI Setup
- Configure your AWS CLI and profiles for the accounts you wish to integrate with Rapticore according to AWS Documention.
- Clone Rapticore's aws-onboarding repository from Github:
git clone [email protected]:rapticore/aws-onboarding.git && \
cd aws-onboarding- Set your AWS Profile and account attributes replacing
<...>with appropriate values:
export RAPTICORE_ACCOUNT_ID=<RapticoreAccountId> && \
export RAPTICORE_TENANT_ID=<RapticoreTenantId> && \
export AWS_PROFILE=<PROFILE NAME>- Create the IAM Role CloudFormation Stack:
aws cloudformation deploy \
  --profile $AWS_PROFILE \
  --region us-east-1 \
  --template-file ./RapticoreCrossAccountStack.json \
  --stack-name Rapticore-cloud-extractor-role-stack-$RAPTICORE_TENANT_ID \
  --parameter-overrides \
    RapticoreAccountId=$RAPTICORE_ACCOUNT_ID \
    RapticoreTenantId=$RAPTICORE_TENANT_ID \
  --tags Name=aws-discovery \
--capabilities CAPABILITY_NAMED_IAM- Confirm the creation of the read-only IAM Role:
aws cloudformation describe-stacks \
  --profile $AWS_PROFILE \
  --region us-east-1 \
  --stack-name Rapticore-cloud-extractor-role-stack-$RAPTICORE_TENANT_ID \
  --query "Stacks[*].Outputs[?OutputKey=='IAMRoleARN'].OutputValue" \
--output text- Copy and save Role ARN.
You will want to keep track of the associated AWS Account the IAM Role was created in for a the Rapticore Configuration step.
Repeat the process for all AWS Accounts you wish to integrate with Rapticore.
Rapticore Configuration
- Login to Rapticore as an admin user and navigate to the Manage > Integrations page and select the AWS integration.
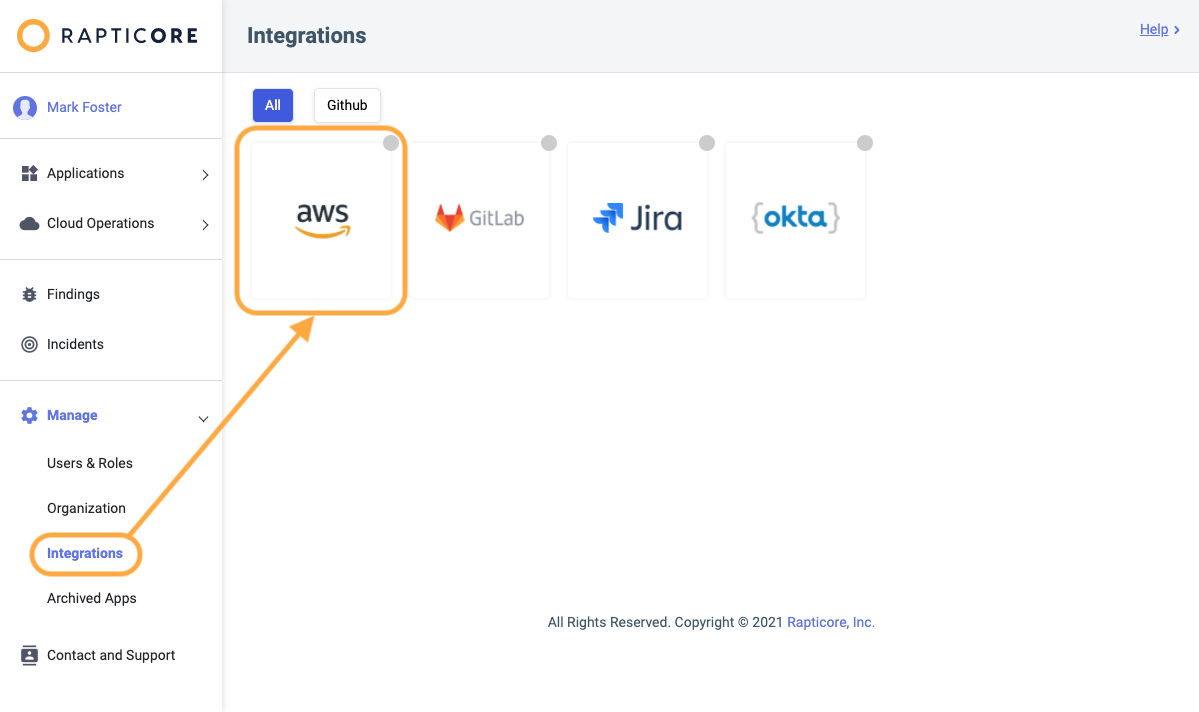
Option 1 - Single Account Integration
- Click New AWS Account
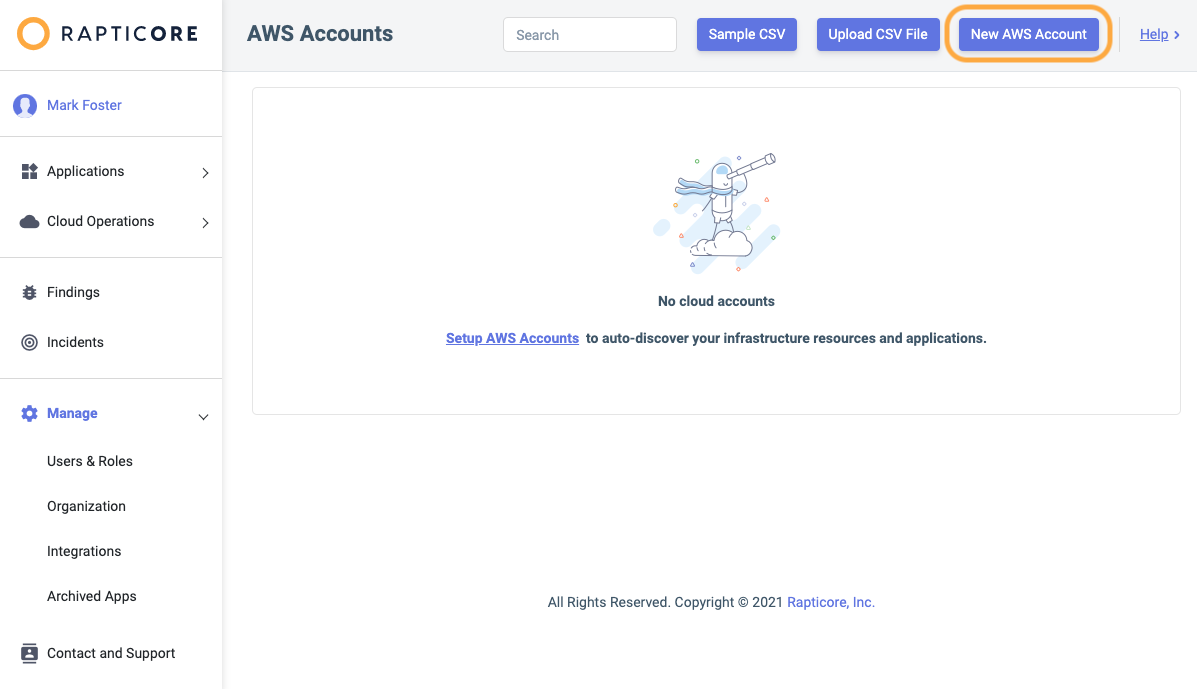
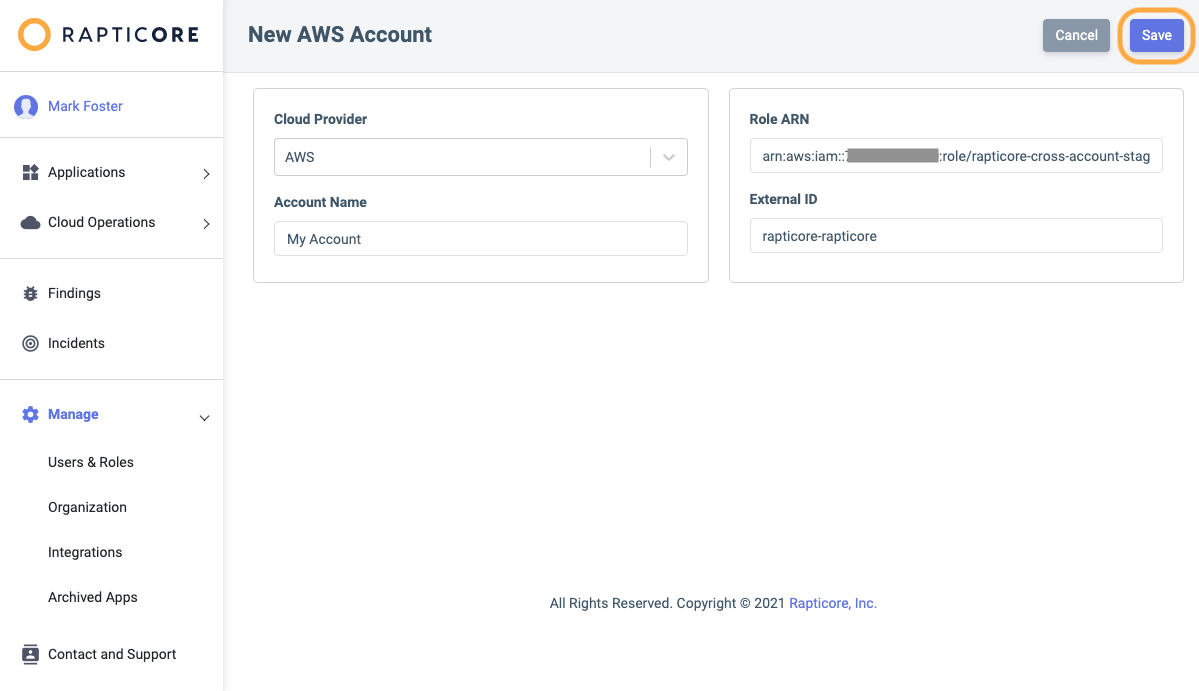
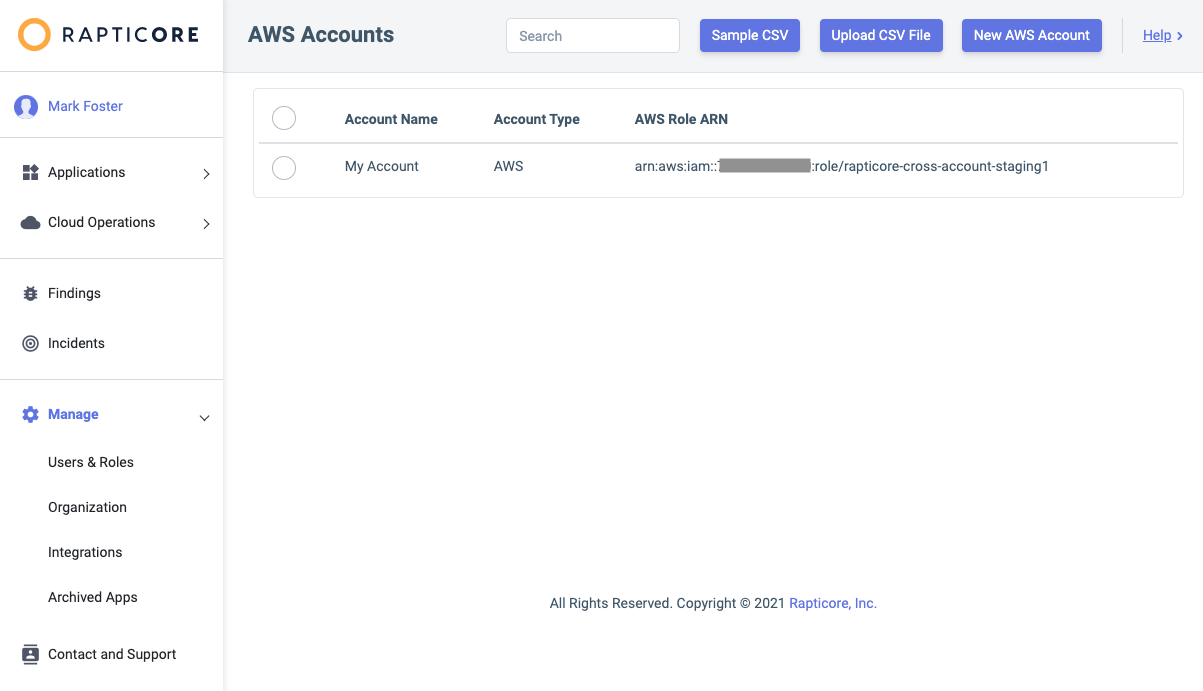
- Enter a name of your choosing for your account and enter the IAM Role ARN associated with that AWS account and click Save.
Option 2 - Bulk Account Integration
- Download the sample CSV bulk upload template
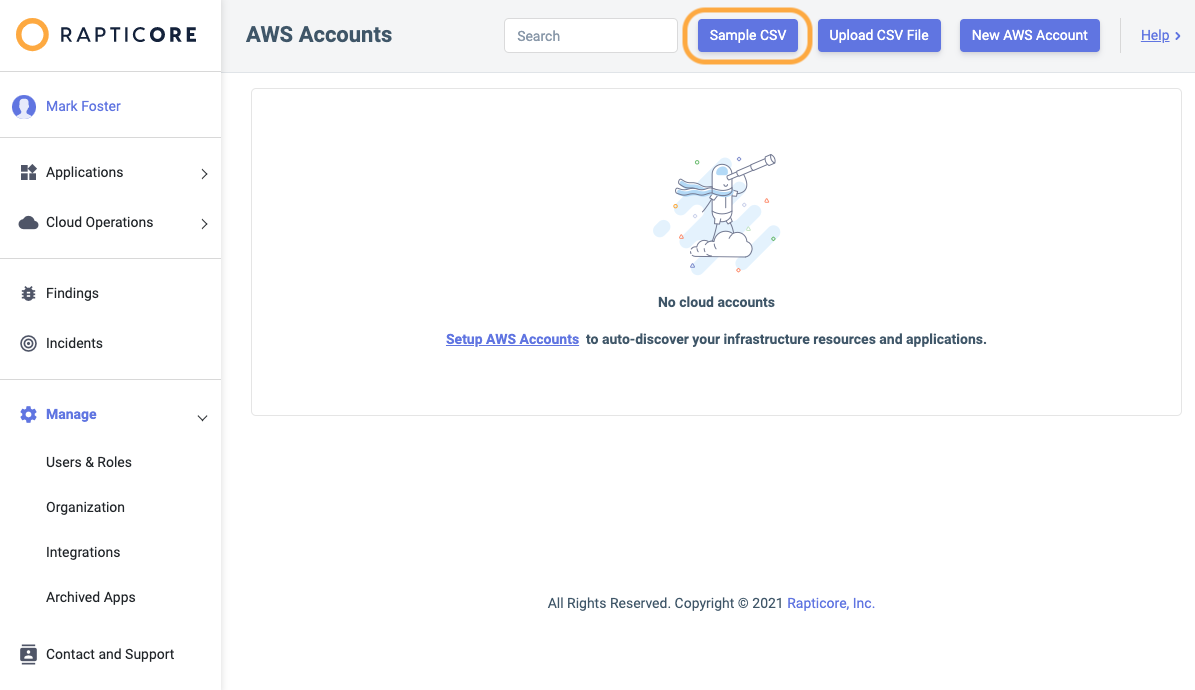
If you are using a Chrome browser, this file may download with a
.txtextension. If it does, you must change it to a.csvextension to upload it in the next step.
Please clear out sample data before entering your account-specific details.
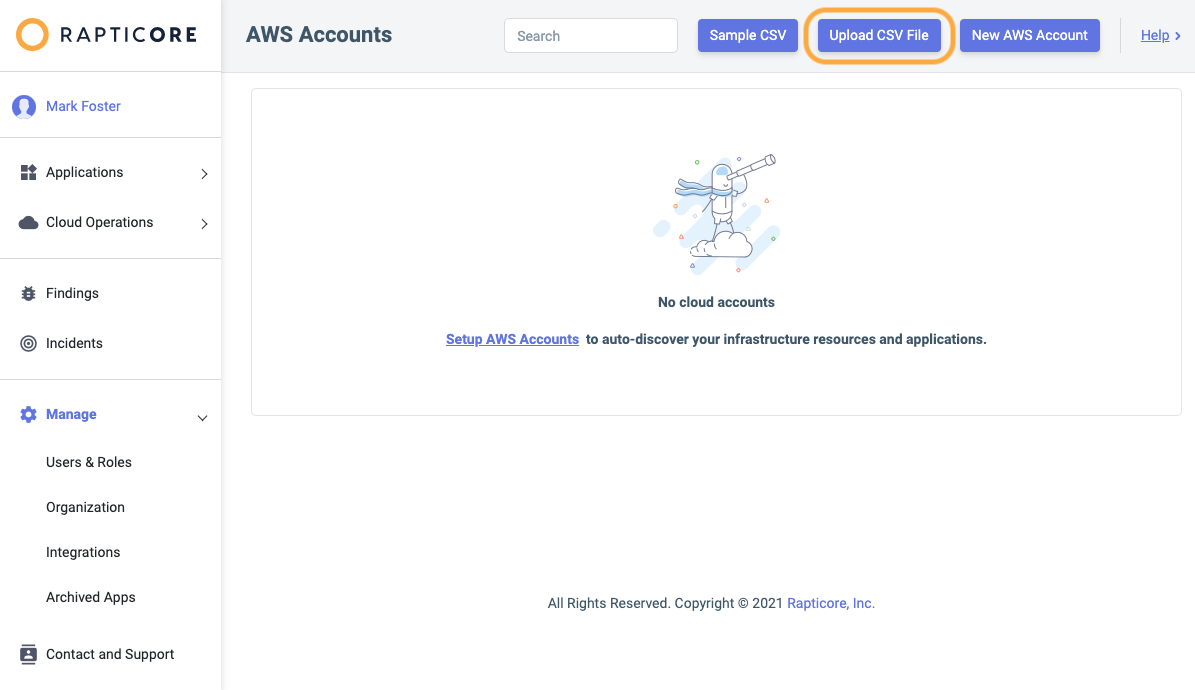
- Add the account names of your choosing and the the corresponding IAM Role ARNs, and upload the bulk template.
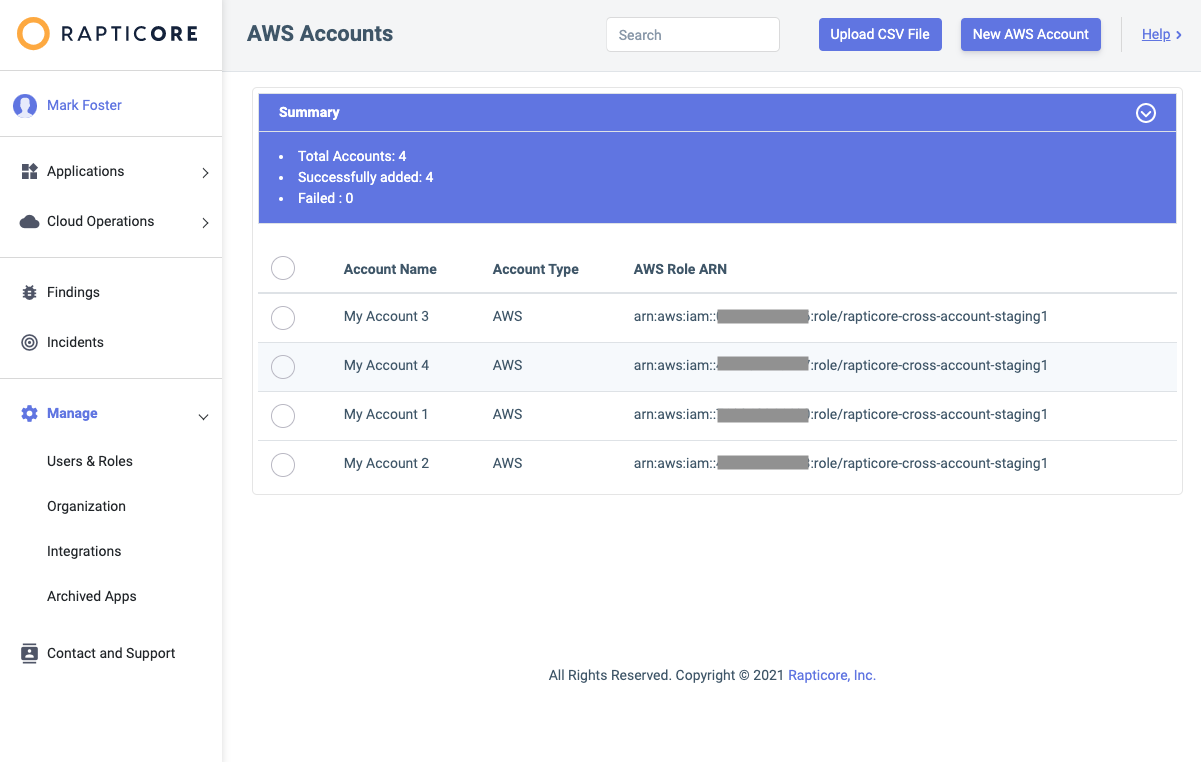
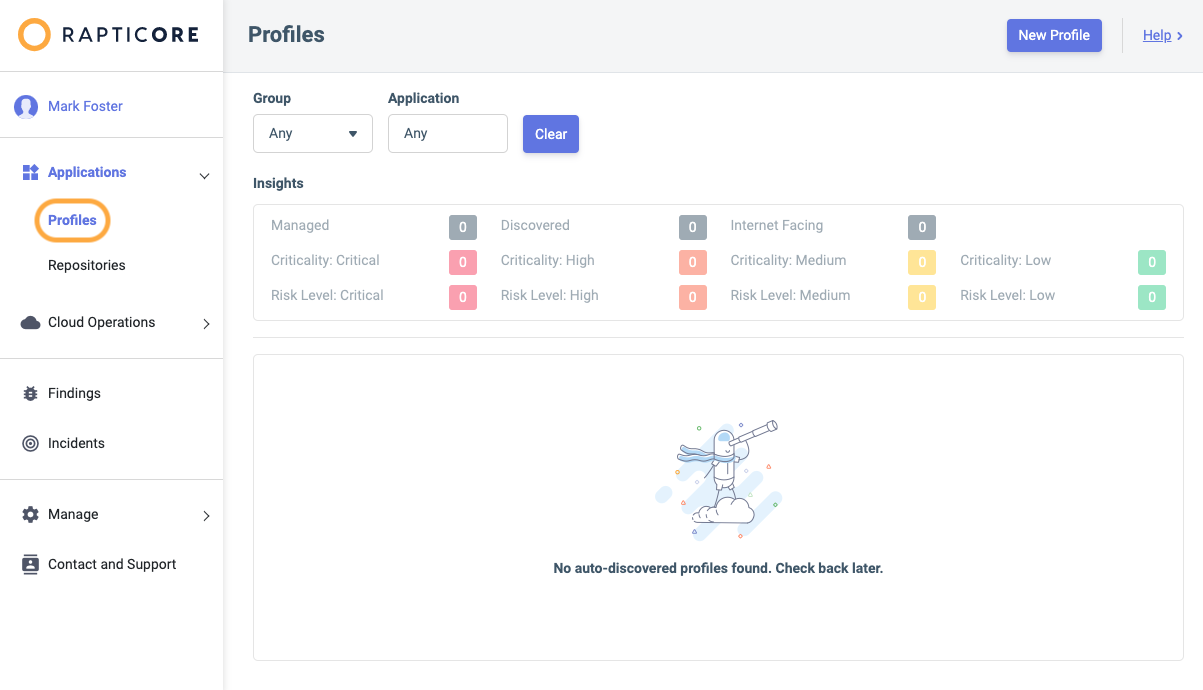
Having configured AWS integration, auto-discovery of applications and resources will be scheduled. Once run, you will be able to view these records in Rapticore.
Decommissioning
Deleting an integrated AWS Account from Rapticore or deleting the IAM Role from the AWS account will stop Rapticore from monitoring that account.
Changing the Role Policy might adversely affect Rapticore data collection and operations.
Customer Data DeletionData collected from the account will be archived and deleted by Rapticore after the retention period has expired.
Updating an existing IAM Role
Rapticore updates additional capabilities that might require customers to update their Rapticore IAM Roles created previously. To take advantage of these capabilities customers are requested to update their IAM roles using the steps below:
Option 1 - AWS Console Setup
- Download the latest CloudFormation Template as a
.yamlfile. - Log into your target account AWS Management Console with permissions to create IAM Roles and Policies.
- Go to the CloudFormation Service and find the cross-account role stack being used to communicate with Rapticore.
- Select the stack and click the "Update" button on the top menu of the stack details screen.
- Select "Replace existing template" and then Select "Upload a template file."
- Choose the YAML file you downloaded and click “Next.”
- Parameters "RapticoreAccountId" and "RapticoreTenantId" should already be filled with existing data provided in your invitation email, leave them unchanged.
- Click “Next” and add any tags you may desire.
- Click "Next" Review Details and select the acknowledgment checkbox once in agreement.
- Click “Submit” and review the progress, the stack should be successfully updated in some time.
Repeat the process for all AWS Accounts whose integration with Rapticore you wish to update.
Option 2 - AWS CLI Setup
- Configure your AWS CLI and profiles for the accounts whose integration with Rapticore you wish to update according to AWS Documention.
- Clone Rapticore's aws-onboarding repository from Github:
git clone [email protected]:rapticore/aws-onboarding.git && \
cd aws-onboarding- Set your AWS Profile and account attributes replacing
<...>with appropriate values:
export RAPTICORE_ACCOUNT_ID=<RapticoreAccountId> && \
export RAPTICORE_TENANT_ID=<RapticoreTenantId> && \
export AWS_PROFILE=<PROFILE NAME>- Update the IAM Role CloudFormation Stack:
aws cloudformation deploy \
  --profile $AWS_PROFILE \
  --region us-east-1 \
  --template-file ./RapticoreCrossAccountStack.json \
  --stack-name Rapticore-cloud-extractor-role-stack-$RAPTICORE_TENANT_ID \
  --parameter-overrides \
    RapticoreAccountId=$RAPTICORE_ACCOUNT_ID \
    RapticoreTenantId=$RAPTICORE_TENANT_ID \
  --tags Name=aws-discovery \
--capabilities CAPABILITY_NAMED_IAM-
Review the progress, the stack should be successfully updated in some time.
-
Repeat the process for all AWS Accounts whose integration with Rapticore you wish to update.
Updated about 1 year ago