Gitlab CI/CD AppSec Tool Integration
Rapticore can act as your vulnerability management tool by accepting SAST / DAST reports produced by almost any AppSec tool. It offers a very powerful api which you can use to fully integrate with your CI/CD pipeline to import your scanners reports into Rapticore.
Setup
Setup involves:
- Creating a user with API role in Rapticore.
- Configuring GitLab CI/CD to run an AppSec tool and export the report.
- Upload the report to Rapticore using api.
GitLab privileges
You must have GitLab rights to manage CI / CD pipeline, add environment variables and new tasks in pipeline.
Rapticore privileges
You must have an Admin role to create user in Rapticore.
Creating a user with API role in Rapticore
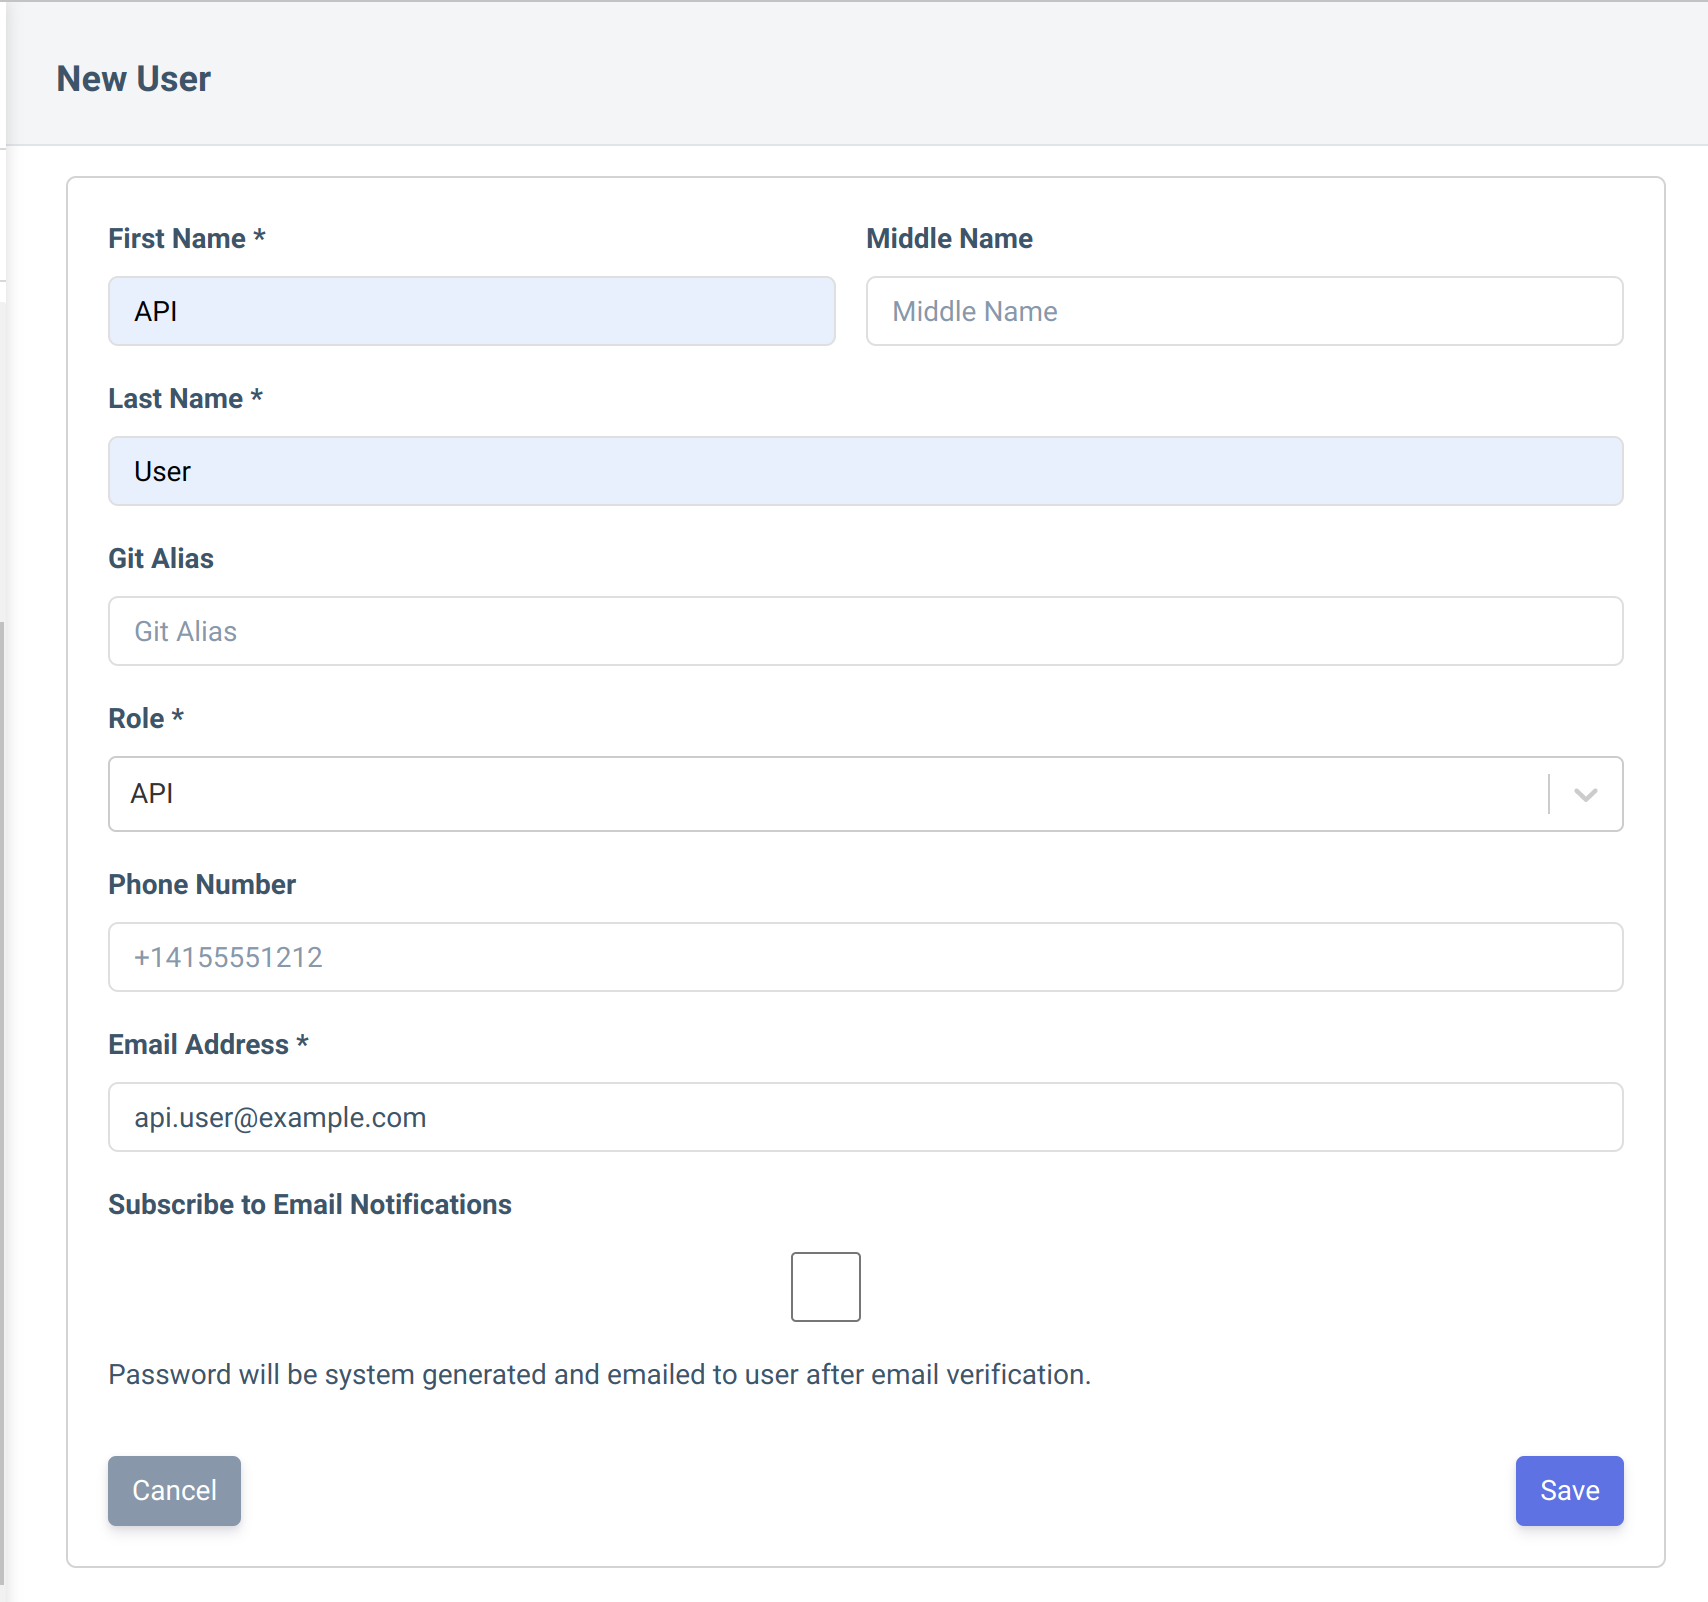
- Login to Rapticore as an admin user and navigate to the Manage > "Users and Roles" page.
- Click "New User" in the top right corner.
- Add the required details with a valid email address.

- You will get an invitation email with login credentials on this email address.
- You must login with these credentials and change your password / verify email address. This step is necessary so that you can easily login with these credentials to connect to Rapticore API.
Configuring GitLab CI/CD to run an AppSec tool and export the report
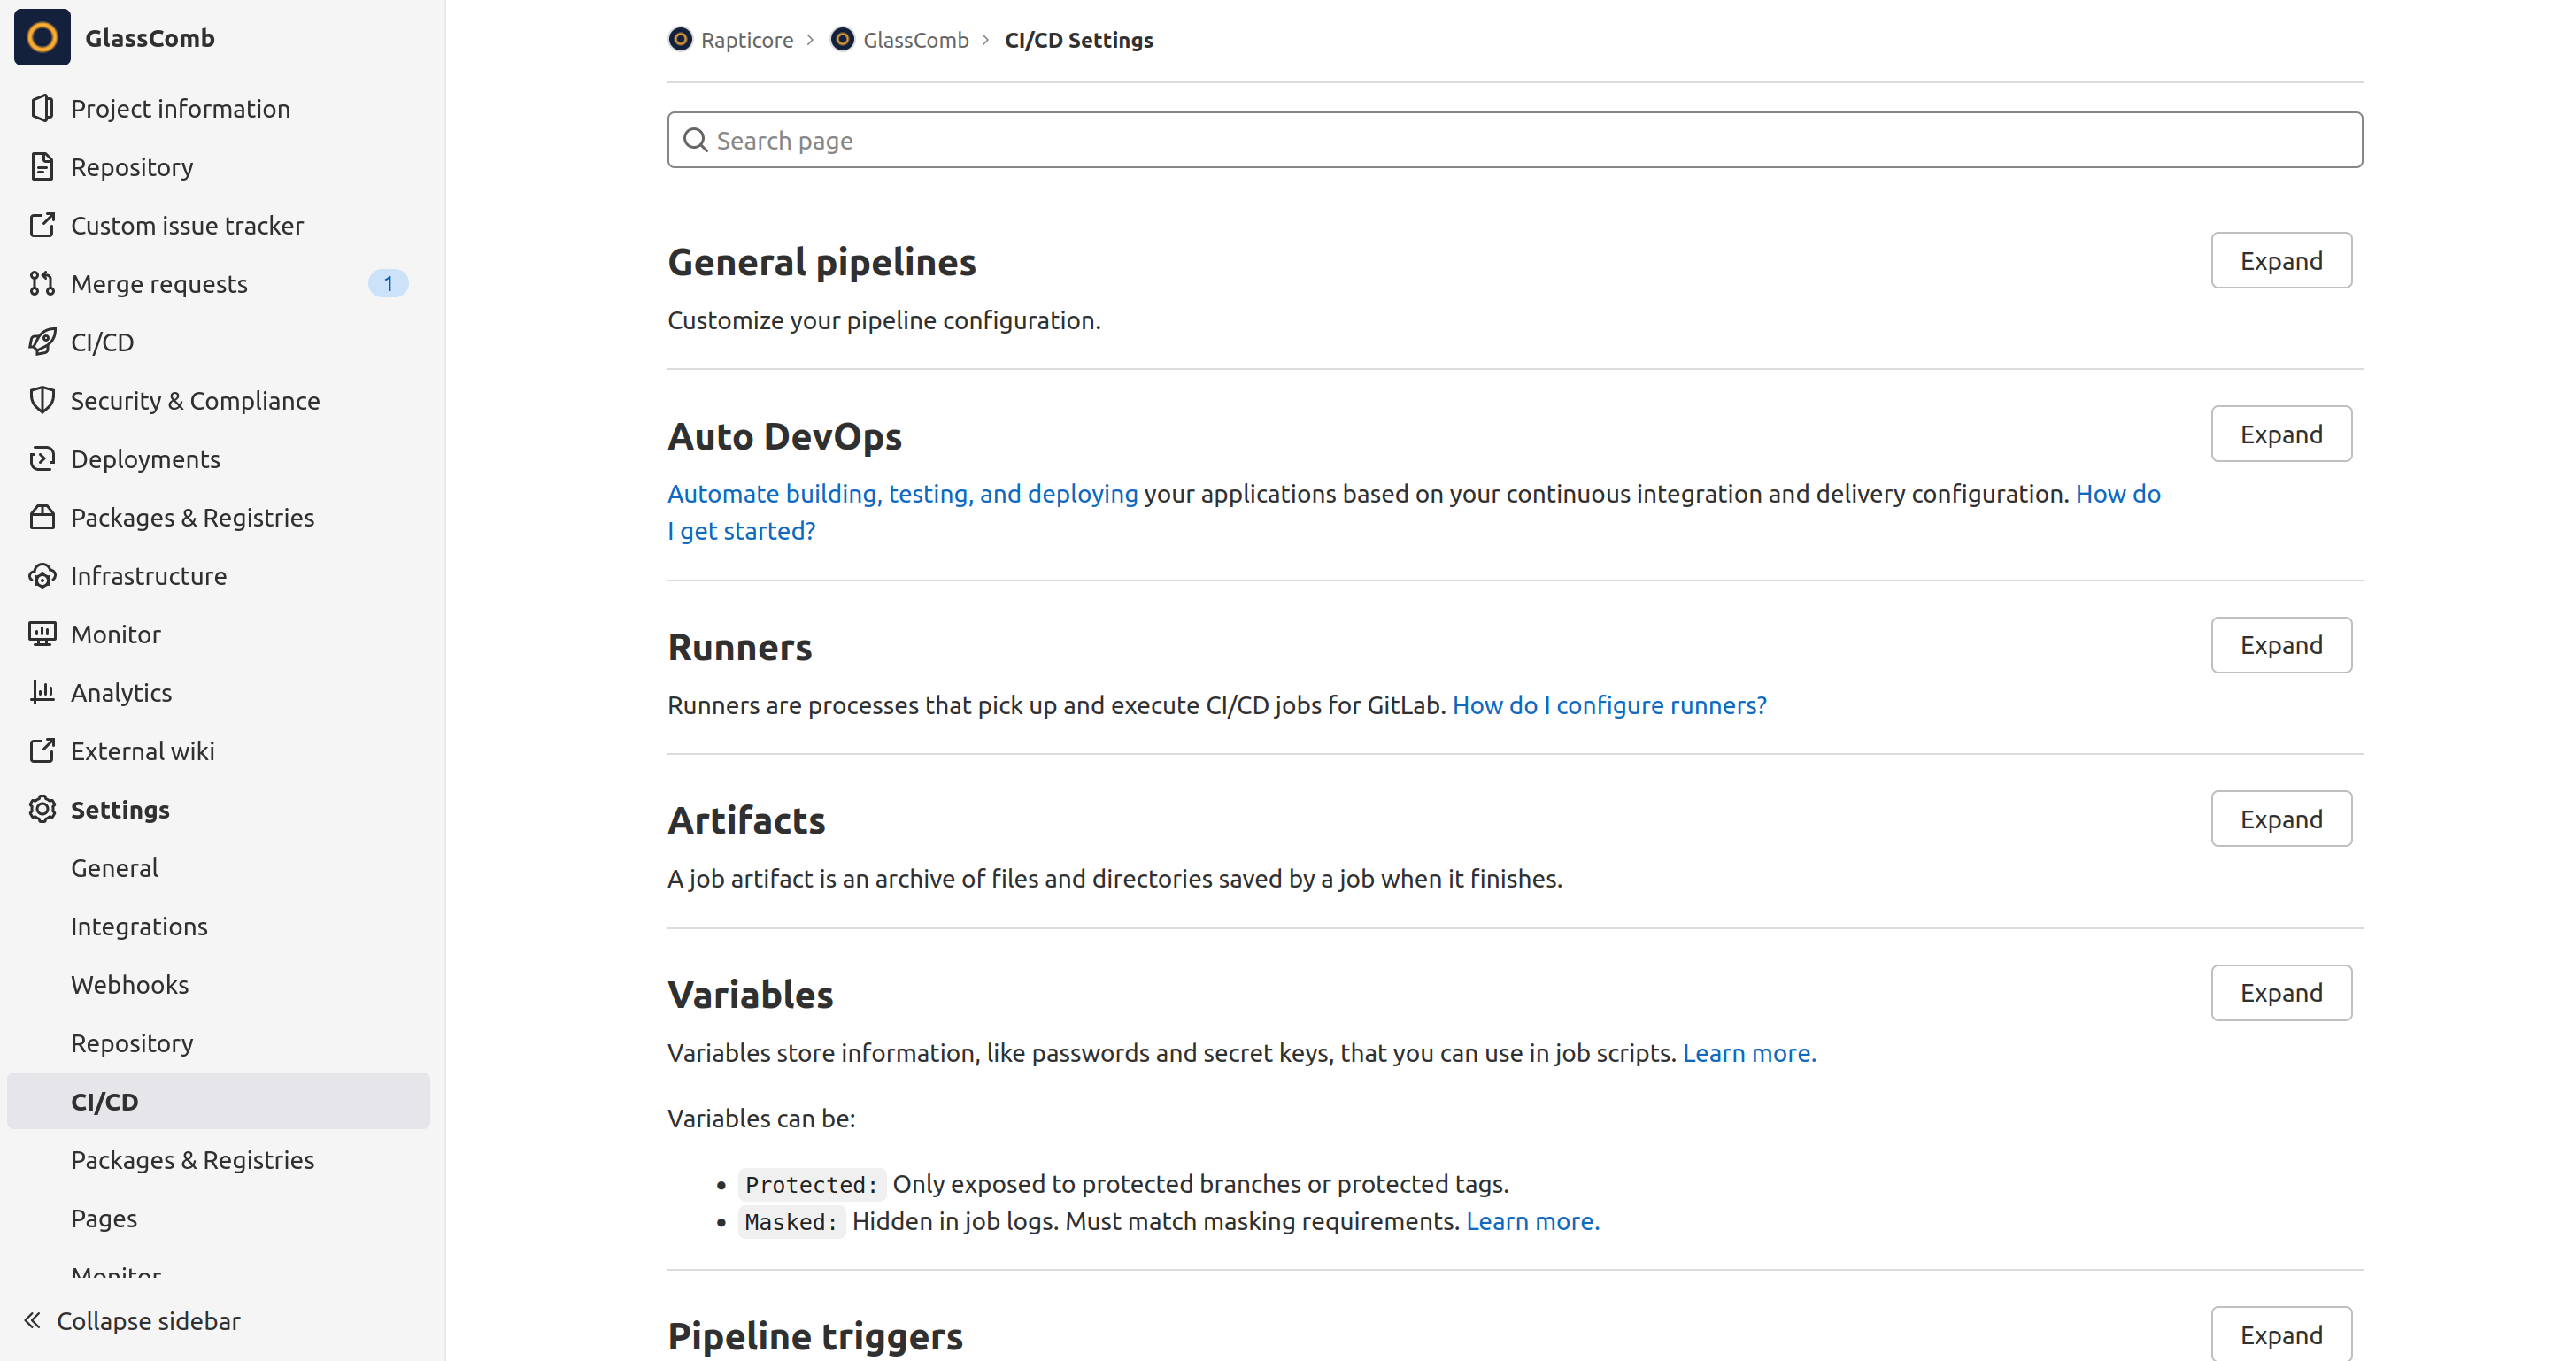
- In your Gitlab project, Go to Settings -> CI/CD.

- Click on Expand button in "variables" section. You will see a list of existing variables.
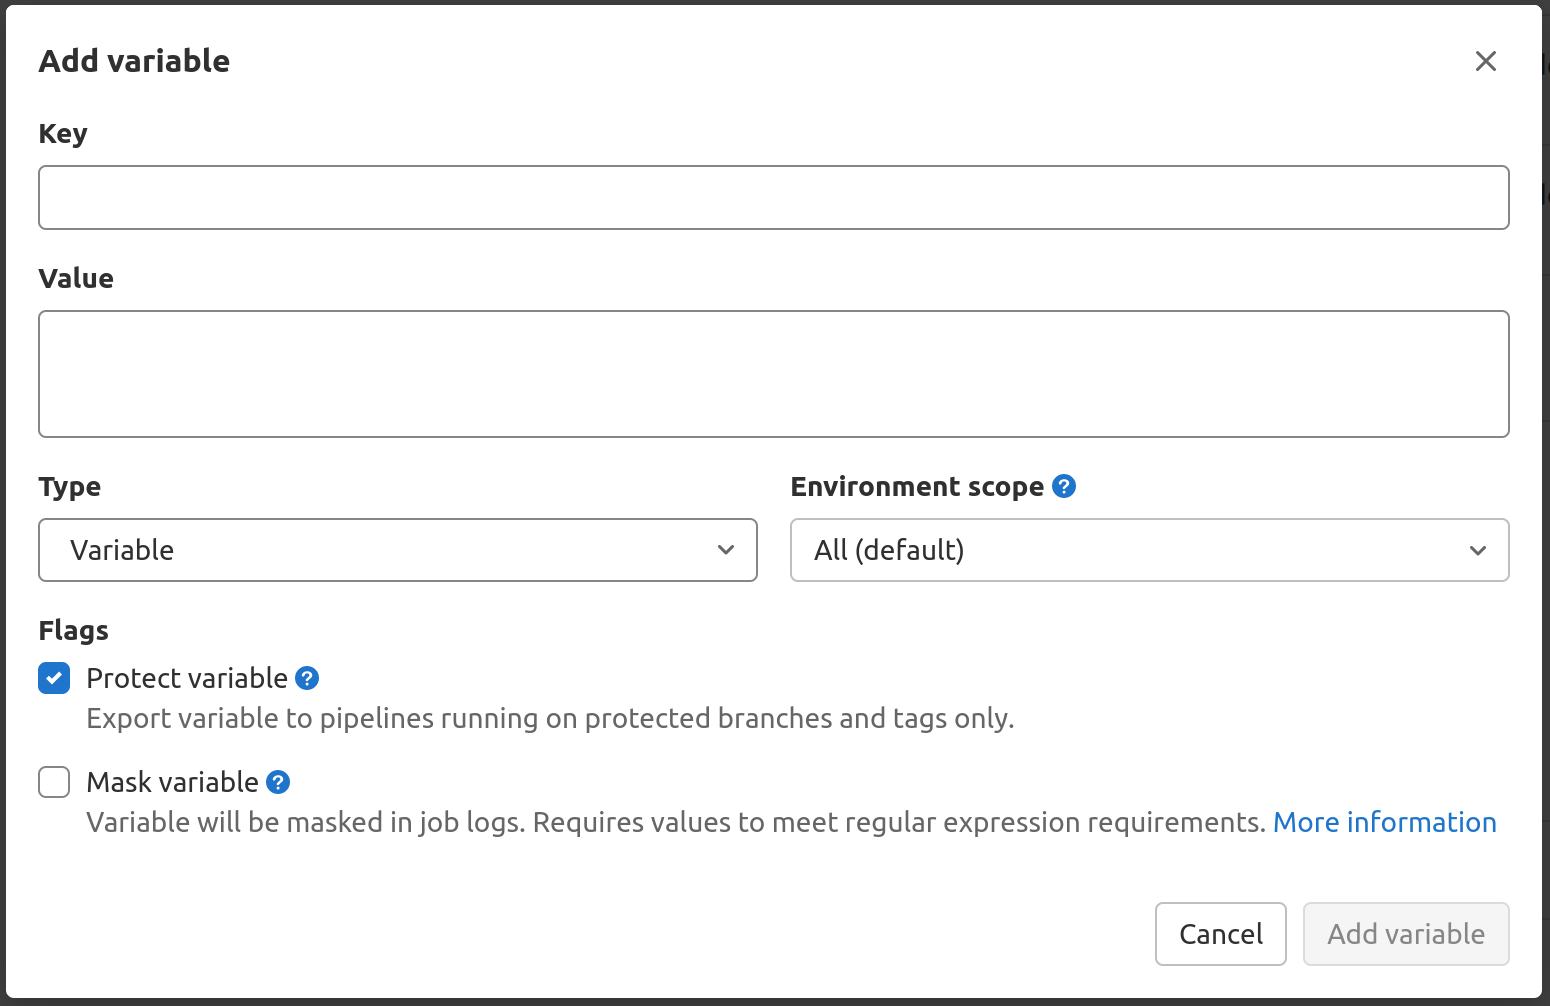
- Click on "Add Variable" under this list. A dialog will open where you can enter the key and value for the variable.
- You need to create two variables i.e., RAPTICORE_USERNAME and RAPTICORE_PASSWORD with the username and password for user created above with API role.

These variables will be required to fetch access token to communicate with Rapticore API.
Upload the report to Rapticore using API
- In your Gitlab CI / CD pipeline, add a task for running a scanner. Task will export a report as an artifact. This report will be uploaded to Rapticore.
- For uploading the report you can utilize a script provided below.
- This script required following environment variables to be set in your gitlab-ci.yml file or in the GitLab UI.:
Variable | Mandatory | Default | Description |
|---|---|---|---|
RAPTICORE_USERNAME | Yes | null | Username of user with API role created in Rapticore |
RAPTICORE_PASSWORD | Yes | null | Password of user with API role created in Rapticore |
RAPTICORE_URL | Yes | null | URL of your Rapticore installation (https://example.rapticore.io) |
RAPTICORE_APPLICATION_ID | Yes | null | UUID of the application to which this report will be associated in Rapticore. You can find this id by opening detail page of an application in rapticore |
RAPTICORE_APPLICATION_NAME | Yes | null | Name of the application to which this report will be associated in Rapticore. You can find this name by opening detail page of an application in rapticore |
SCAN_TYPE | Yes | null | This depends on the tool being run by you in pipeline. You can get a list of supported scan types by running the curl command provided below |
SCAN_FILE | Yes | null | Name of the file generated by AppSec tool. |
- To get a list of supported scan types:
a. Get an access token:
curl --location --request POST 'https://example.rapticore.io/api/authenticate' \
--header 'Content-Type: application/json' \
--data-raw '{
    "username": "<RAPTICORE_USERNAME>",
    "password": "<RAPTICORE_PASSWORD>"
}'
b. Get the list of supported sources. Replace <ACCESS_TOKEN> with the token obtained from command above.
curl --location --request GET 'https://example.rapticore.io/api/vulnerability/scanTypes' \
--header 'Authorization: <ACCESS_TOKEN>'- For uploading the report use script provided below. You can include this script in a task or modify it as per your requirement. You may have to modify the script depending upon whether you are using shell or docker-in-docker runner and depending upon the location where report file is generated by the tool.
Script below expects the reports to be in tests/dependency-check/ directory.
Linux ScriptUse the following for Linux systems.
#!/usr/bin/env sh
apk add coreutils file
cd tests/dependency-check/
ls -al
# Get the access token from Rapticore
echo "Using username $RAPTICORE_USERNAME"
TOKEN=`curl --location --request POST "${RAPTICORE_URL}/api/authenticate" \
 --header 'Content-Type: application/json' \
 --data-raw "{ \"username\": \"$RAPTICORE_USERNAME\",  \"password\": \"$RAPTICORE_PASSWORD\" }" | jq -r '.accessToken'`
echo "Token"
echo $TOKEN
# Pipe the base64 encoded content of attached_file
(echo "data:"; file --mime-type -b $SCAN_FILE; echo ";base64") | base64 --wrap=0 "$SCAN_FILE" |
# into jq to make it a proper JSON string within the
# JSON data structure
jq --slurp --raw-input --arg FileName "$SCAN_FILE" --arg ScanType "$SCAN_TYPE" \
  --arg ApplicationId "$RAPTICORE_APPLICATION_ID" --arg ApplicationName "$RAPTICORE_APPLICATION_NAME" \
'{
    "scanType": $ScanType,
    "applicationId": $ApplicationId,
    "applicationName": $ApplicationName,
    "minimumSeverity": "Low",
    "file": {
        "fileName": $FileName ,
        "fileData": .
    }
}
' |
# Get the resultant JSON piped into curl
# that will read the data from the standard input
# using -d @-
curl -d @- --location --request POST "$RAPTICORE_URL/api/vulnerability/import-scan/" \
 --header "Authorization: $TOKEN" \
 --header "Content-Type: application/json" \
Mac OSX scriptUse the following script for Mac OSX.
#!/usr/bin/env sh
apk add coreutils file
cd tests/dependency-check/
ls -al
# Get the access token from Rapticore
echo "Using username $RAPTICORE_USERNAME"
TOKEN=`curl --location --request POST "${RAPTICORE_URL}/api/authenticate" \
 --header 'Content-Type: application/json' \
 --data-raw "{ \"username\": \"$RAPTICORE_USERNAME\",  \"password\": \"$RAPTICORE_PASSWORD\" }" | jq -r '.accessToken'`
echo "Token"
echo $TOKEN
# Pipe the base64 encoded content of attached_file
(echo "data:"; file --mime-type -b $SCAN_FILE; echo ";base64") | base64 -i "$SCAN_FILE |
# into jq to make it a proper JSON string within the
# JSON data structure
jq --slurp --raw-input --arg FileName "$SCAN_FILE" --arg ScanType "$SCAN_TYPE" \
  --arg ApplicationId "$RAPTICORE_APPLICATION_ID" --arg ApplicationName "$RAPTICORE_APPLICATION_NAME" \
'{
    "scanType": $ScanType,
    "applicationId": $ApplicationId,
    "applicationName": $ApplicationName,
    "minimumSeverity": "Low",
    "file": {
        "fileName": $FileName ,
        "fileData": .
    }
}
' |
# Get the resultant JSON piped into curl
# that will read the data from the standard input
# using -d @-
curl -d @- --location --request POST "$RAPTICORE_URL/api/vulnerability/import-scan/" \
 --header "Authorization: $TOKEN" \
 --header "Content-Type: application/json" \
This script performs the following steps:
- Authenticates with rapticore to obtain the access token.
- Encodes the file using base64 and uploads to rapticore.
Findings in RapticoreOnce the report is uploaded, you can view the findings on "Findings" page in Rapticore.
You can manage their remediation by assigning task in JIRA through JIRA integration setup in rapticore.
Do let us know if you face any issues.
Updated about 1 year ago