
GCP Integration
Auto-discover Applications and GCP Resources
Rapticore Integrates with customer’s GCP environments by leveraging Service Accounts with read-only permissions added to customer's GCP projects.
For more information on these service accounts and GCP integration, refer to our GCP integration reference
Setup
To simplify setup, we provide a terraform template to facilitate Service Account creation and workload identity federation.
Setup involves:
- Configuring GCP Projects with readonly Service Accounts and workload identity pool and provider for cross-cloud access.
- Configuring Rapticore to integrate with those GCP Projects.
Necessary privileges in GCP
Either an IAM User or Service Account with privileges to create and update service accounts (roles/iam.serviceAccountAdmin), create workload identity pools (roles/iam.workloadIdentityPoolAdmin) and enable apis (roles/serviceusage.serviceUsageAdmin), or privileges of project owner (roles/owner) in the target gcp project can complete the setup steps.
Rapticore information provided in your invitation email
Rapticore, at the time of account creation, will provide customers with a unique account attributes; whichmust be used without modification in the setup.
- RapticoreAccountId - Rapticore-operated AWS Account ID.
Rapticore privileges
You must have an Admin role to configure GCP integrations in Rapticore.
GCP Project Configuration
Option 1 - Google Cloud Console Setup
- Log into your target project Google Cloud Console with permissions to create service accounts, workload identity pools, and enable apis or an owner role attached to the account.
- Go to the Infrastructure Manager and click the "Create deployment" button on the top of the screen.
- Under Deployment details, enter a Friendly Id for the deployment e.g., Rapticore-cloud-extractor-setup.
- Select appropriate region.
- Select a terraform version.
- Select a service account with owner role attached to it.
- Download the terraform template on your device.
- Create a cloud storage bucket, and upload the terraform template.
- Select gcs as Source of Terraform configuration and provide the link of the gcs bucket containing the terraform template i.e gs://your_bucket_name.
- Click continue and enter rapticore_account_id as key1. Enter Rapticore Account Id provided to you by Rapticore as value1 for rapticore_account_id key.
- Click add value and enter gcp_project_id as key2. Enter project id of your gcp project as value2 for gcp_project_id.
- Click Create Deployment button on the bottom of the screen.
- Review Progress, and once the deployment is created, provide the GCP Project Id and Project Number in Rapticore Portal.
Updates to existing infrastructure.If you've already deployed the infrastructure once and need to update it, update the terraform template in GCS bucket by downloading the up to date template from terraform templateand create a new revision for the previous deployment in infrastructure manager.
Option 2 - CLI setup with terrafrom and gcloud
-
Install Terraform by following HashiCorp's official documentation for your operating system.
-
Install Google Cloud CLI (gcloud) and configure Google Cloud account for deploying the stack using the gcloud CLI. Please consult Google Cloud documentation on gcloud CLI installation and configure gcloud authentication. You'll need a profile with with privileges to create and update service accounts (roles/iam.serviceAccountAdmin), create workload identity pools (roles/iam.workloadIdentityPoolAdmin) and enable apis (roles/serviceusage.serviceUsageAdmin), or privileges of project owner (roles/owner) in the target gcp project can complete the setup steps.
-
Download terraform template on your device.
-
Create a cloud storage bucket which will store statefile for terraform. If you've already deployed once using terraform, please skip this step and note the bucket name which has statefile for previous deployment.
-
Once both Terraform and gcloud are configured, run the following commands replacing YOUR-PROJECT-ID: Your Google Cloud project ID , YOUR-RAPTICORE-ID: Your Rapticore account ID (12 digits) , and BUCKET_NAME_FOR_STATEFILE with name of your gcs bucket.
-
Initialize the working directory containing Terraform configuration files
terraform init -backend-config="bucket=BUCKET_NAME_FOR_STATEFILE" -backend-config="prefix=terraform/state" -
Preview the execution plan and verify resources that will be created
terraform apply \ -var="YOUR-RAPTICORE-ID" \ -var="gcp_project_id=YOUR-PROJECT-ID" \ -var="state_bucket=BUCKET_NAME_FOR_STATEFILE" -
Apply the changes to reach the desired state of configuration
terraform apply \
  -var="YOUR-RAPTICORE-ID" \
  -var="gcp_project_id=YOUR-PROJECT-ID" \
  -var="state_bucket=GCS_PATH_FOR_STATEFILE"
Repeat the process for all GCP Projects you wish to integrate with Rapticore.
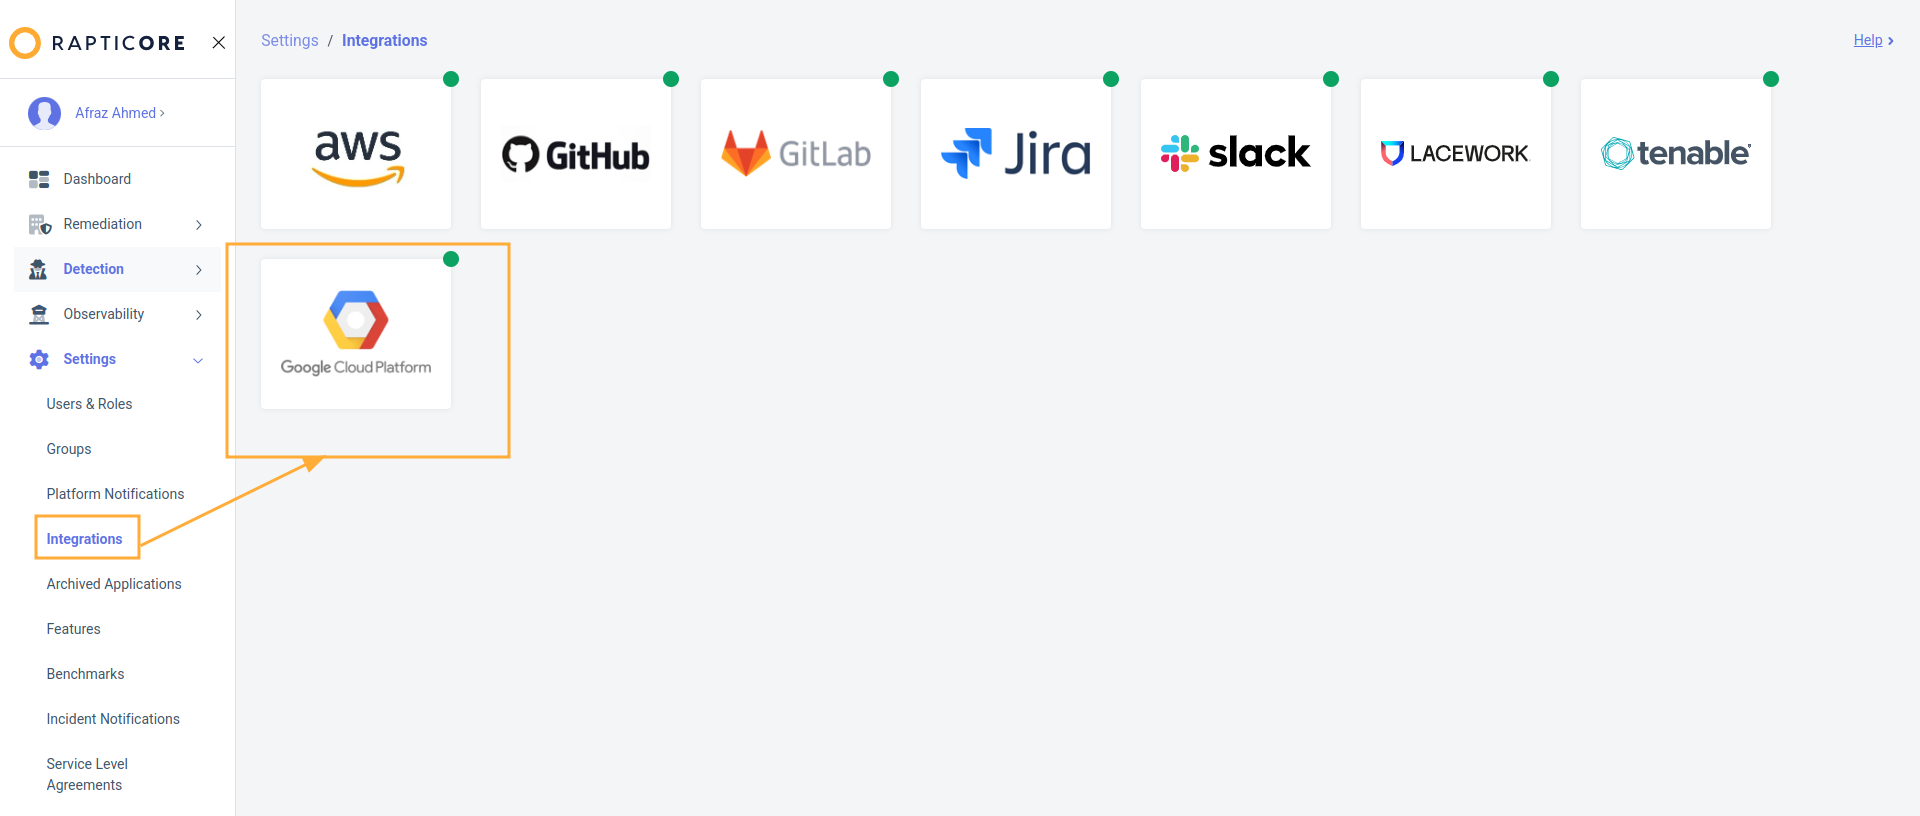
Rapticore Configuration
-
Login to Rapticore as an admin user and navigate to the Manage > Integrations page and select the GCP integration.
-
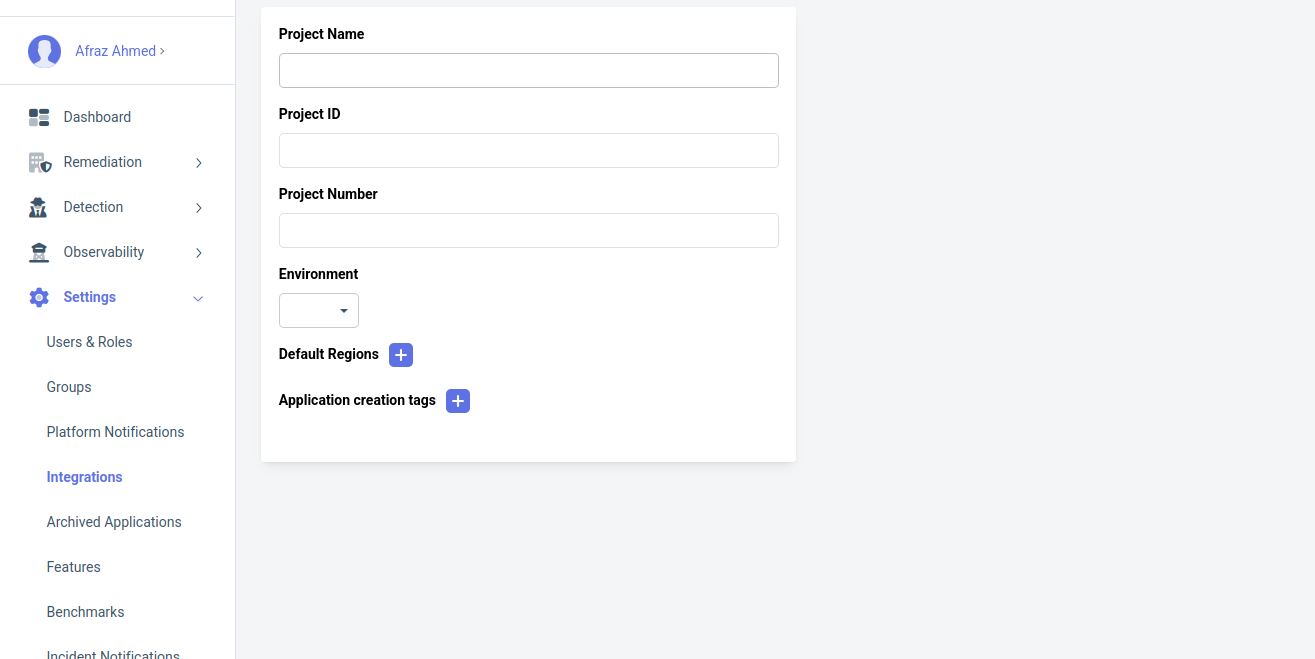
Click New GCP Project.

-
Enter a name of your choosing for your project and enter Project Id and Project Number associated with the project and click save.
Updated over 1 year ago